
How to Swap Faces in Photoshop
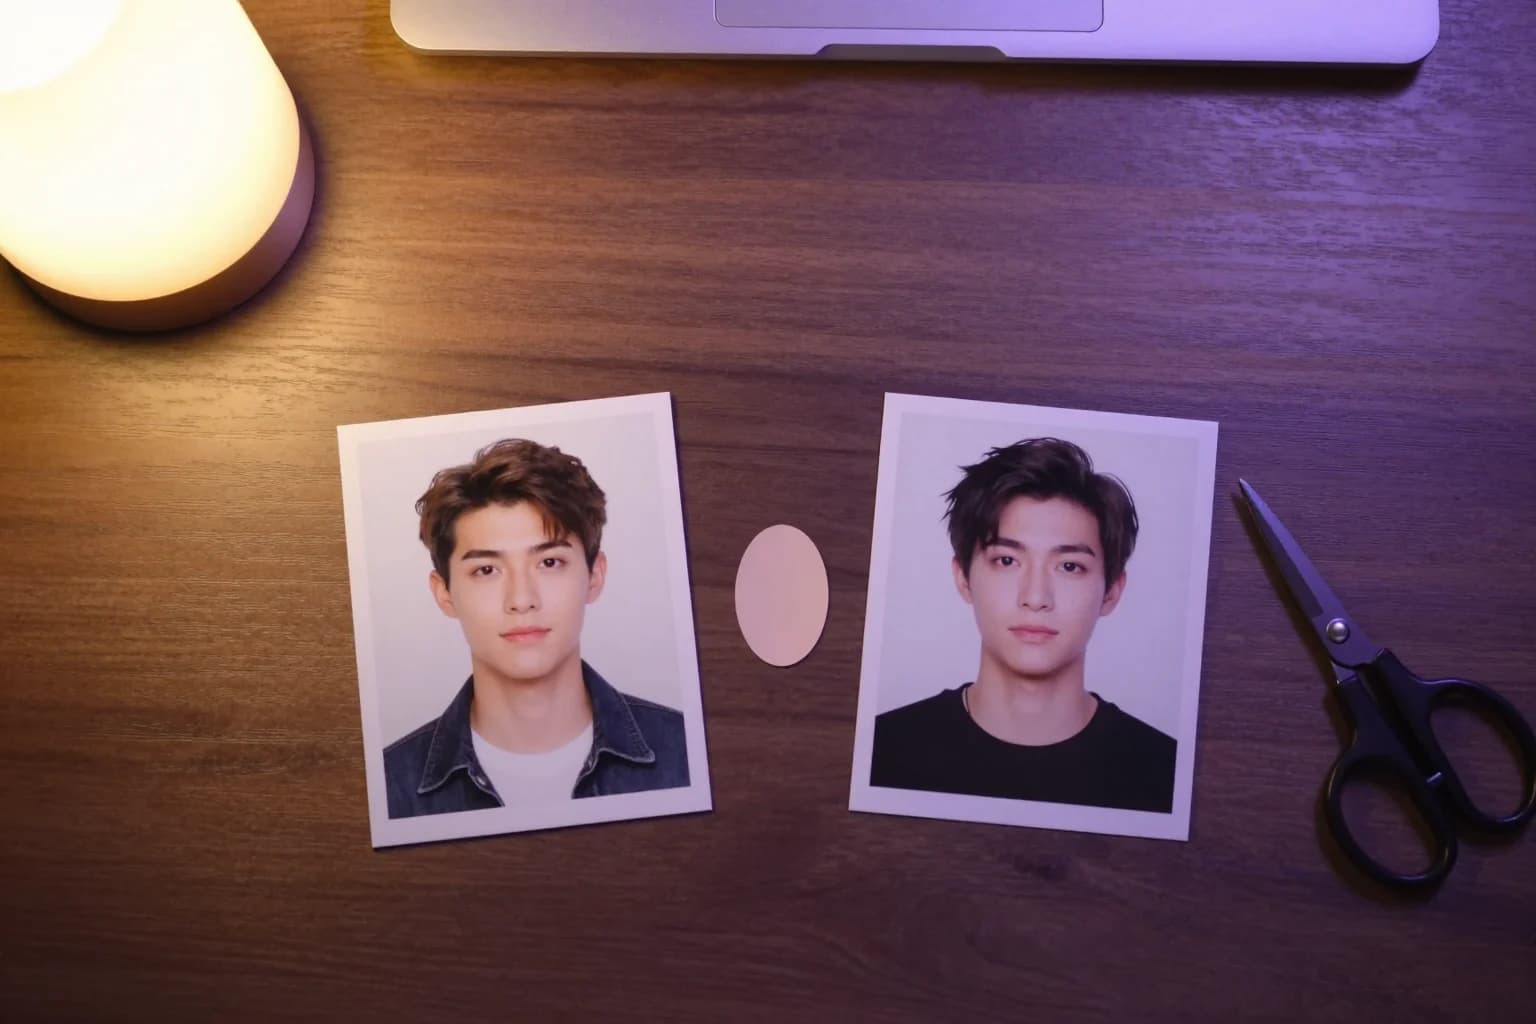
To swap faces in Photoshop, copy the face from one photo onto the other as a new layer, line it up with Free Transform, cut the old face out of a copy of the background, then let Edit › Auto-Blend Layers merge the two and even out the skin tone. A first attempt takes 15 to 30 minutes and works in any recent version of Photoshop.
Below are the eight steps with their shortcuts, the problems that usually show up afterwards, and a faster route for when you don't have Photoshop or only need one photo done.
Quick steps
- Open both photos. Open the photo with the face you want and the photo it should go into with File › Open.
- Select the face. In the face photo, draw around the eyebrows, eyes, nose and mouth with the Lasso tool and copy with Cmd/Ctrl + C.
- Paste it into the target. Switch to the target photo and paste with Cmd/Ctrl + V. The face lands on its own layer.
- Line it up. Set the layer to 50% opacity, press Cmd/Ctrl + T and scale and rotate until the eyes and mouth sit over the originals, then set opacity back to 100%.
- Duplicate the background. Select the Background layer, press Cmd/Ctrl + J and hide the original Background.
- Cut out the old face. Cmd/Ctrl-click the face layer thumbnail, choose Select › Modify › Contract by 5 to 10 pixels, select the background copy and press Delete, then deselect.
- Auto-blend the layers. Select the face layer and the background copy, choose Edit › Auto-Blend Layers, pick Panorama with Seamless Tones and Colors, and click OK.
- Fix edges and color. Clean up seams with the Spot Healing Brush and match skin tone with a Curves adjustment clipped to the face.
Photoshop face swap steps in detail
- Open both photos (File › Open): the one with the face you want, and the one it should go into. Similar head angle and light make every later step easier.
- Select the face. In the face photo, pick the Lasso tool (L) and draw around the eyebrows, eyes, nose and mouth, staying inside the hairline and jaw. Copy with Cmd/Ctrl + C.
- Paste it into the target with Cmd/Ctrl + V. Photoshop puts it on a new layer.
- Line it up. Drop the new layer to about 50% opacity, press Cmd/Ctrl + T, then scale and rotate until the eyes and mouth sit exactly over the originals. Press Enter and set opacity back to 100%.
- Duplicate the background. Select the Background layer, press Cmd/Ctrl + J, and click the eye icon to hide the original.
- Cut out the old face. Cmd/Ctrl-click the face layer's thumbnail to load its outline, choose Select › Modify › Contract and enter 5 to 10 pixels. Select the background copy, press Delete, then Cmd/Ctrl + D to deselect.
- Auto-blend. Select the face layer and the background copy together, choose Edit › Auto-Blend Layers, pick Panorama, tick Seamless Tones and Colors and click OK. Photoshop builds masks and evens out the color across the join.
- Fix edges and color. On a new empty layer, paint over leftover seams with the Spot Healing Brush (with Sample All Layers on). If the skin is still a different shade from the neck, add a Curves adjustment and clip it to the face.
Why a Photoshop face swap looks pasted on, and how to fix it
- A visible line around the cheeks. The contraction in step 6 was too small or too large. Go back to that step and try 8 pixels instead of 5, or the other way round.
- Skin tone that doesn't match the neck. Auto-Blend evens out tone near the join, not across the whole face. In a clipped Curves layer, adjust the red and blue channels until the cheeks match the neck.
- A blurry or blocky face. The face was scaled up a lot. Start from a bigger, sharper source photo so you shrink it instead of enlarging it.
- A head that seems to face two ways. No blending fixes a face looking left on a head turned to the camera. Choose a source photo with the same angle.
Most of these come down to choosing the right pair of photos. Eight tips for a realistic face swap covers that in more detail, and it applies to Photoshop as much as to AI.
Face swap without Photoshop: the one-click way
Without a Photoshop subscription, or on a phone, Face Swap AI handles steps 2 to 8 for you. Add the photo with your face and the target photo, tap Swap faces, and the AI aligns the face, matches skin tone and light, and blends the edge in a few seconds.
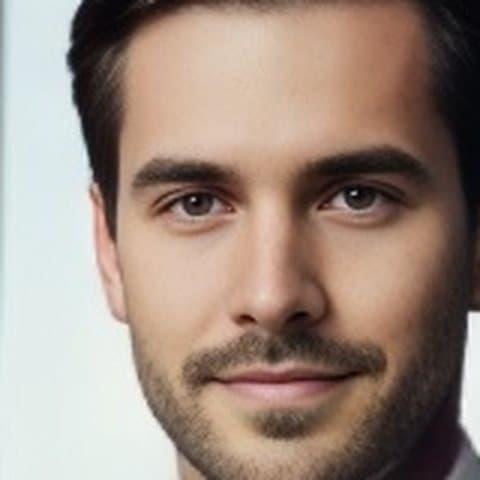
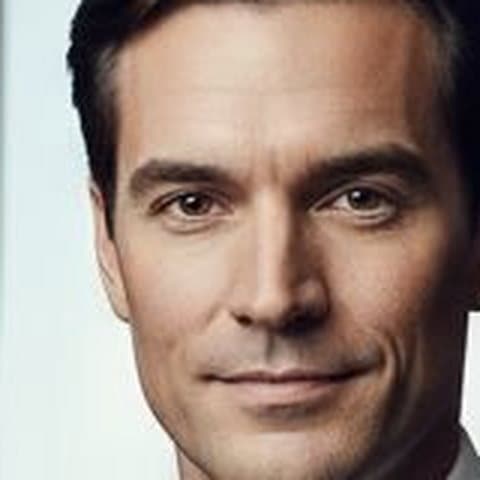
It only touches the face. When we compared four of our template photos with their swapped results, under 1% of the pixels had changed, all inside a box around the face, so the hair, clothes and background stay as they were.
Photoshop or an AI face swap: which to use
| Photoshop | Face Swap AI | |
|---|---|---|
| Time per photo | 15 to 30 minutes | Under a minute |
| Skills needed | Layers, masks and selections | None |
| Control | Every pixel | Choice of photos |
| Works on a phone | No, desktop app | Yes, in the browser |
| Cost | Adobe subscription | $2.99 for 15 swaps |
Photoshop is the better tool when a job needs manual control: a composite for print, a face partly hidden by a hand or hair, or a client who wants to approve every edge. For a profile picture, a joke for the group chat or seeing yourself in a new scene, the AI route is faster and usually looks as good.
Questions
Does Photoshop Elements have a face swap tool?
Yes. Photoshop Elements has Photomerge Faces in its Guided mode, which lets you take the eyes, nose or mouth from one photo and blend them into another. It's simpler than the Auto-Blend method but gives you less control.
Can I do the same face swap in GIMP?
Mostly. Steps 1 to 6 work the same way with the Free Select tool and the Unified Transform tool. GIMP has no Auto-Blend Layers, so blend the edge by hand with a layer mask and a soft brush, then match color with Curves.
Keep reading
Swap faces between two photos
Swap faces between any two photos in your browser: pick the face, pick the target, tap swap. How to match angle and light so the result looks real.
8 tips for a realistic face swap
Why some face swaps look fake and how to fix it: angle, light, sharpness, expression, hair, glasses and skin tone. Eight tips for any AI face swap app.
Face swap with Gemini or ChatGPT
How to face swap with Gemini's Nano Banana or ChatGPT: the prompt that works, why the face often drifts, and when a dedicated face swap model is better.